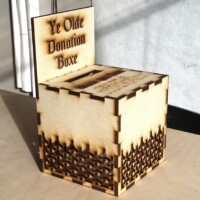
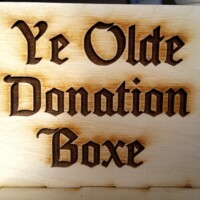
Today’s project comes to us courtesy of our Supermodeler, Joy: this this wooden donation box, appropriately named Ye Olde Donation Boxe. The E’s are NOT silent. Pronounce all the E’s!
This box was born out of a need to have a way for folks to donate at our meetups. Joy brainstormed a few options and materials with the help of a Google image search. One of the things she learned in her research was that donation boxes are much more effective when folks can see inside them. This was a problem because she was planning to make the box out of wood, and as we all know, wood ain’t transparent. What to do, what to do?
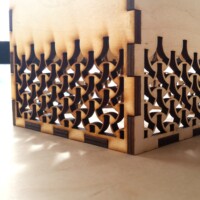
She decided on using humor and played around with a couple different designs before inspiration struck. She was thinking about ways to make a wooden box see through, contemplating situations where wooden screens are used, when an image of a church confessional popped into her head. Divine inspiration, you might say. Church confessionals use a screen to separate priest from parishioner, and are a fun and functional way to make wood see-through but still contain the contents of a box.
Once Joy settled on the motif of a confessional, the name for the box followed quickly, inspired by a visit to old New England churches when she was in high school. Now to make the box. Enter makercase.com. This incredibly useful website gets a lot of traffic from us at Seattle Makers, and is an easy and quick way to create laser-cut box designs. A few dimensions and specifications later, and out popped a downloadable vector file.
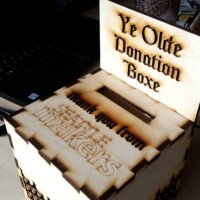
On to Adobe Illustrator. Joy built a simple repeating pattern out of vectors and added it on top of the box vectors from the makercase file. She extended the length of the back of the box so she could write the label on the box, and she added a slit to the top of the box for folks to slip their donations through. Finally, she picked out a font that looked old-timey and was simple enough to be legible, and added labels to the box.
Our master fabricator, Jeremy, dialed in our laser cutter, specifying which shapes to cut, and which to etch. And 10 minutes later, ta-da! A box that was easily assembled in a matter of minutes. We glued the sides and top together, leaving the bottom unglued so we could take it off and pull out donations. It’s gotten a bit of use already from visitors at our meetups. Come by the space to see the box in person and learn how to make a box of your own!


